Message Inbox
Your inbox allows you to exchange and organize your communications.
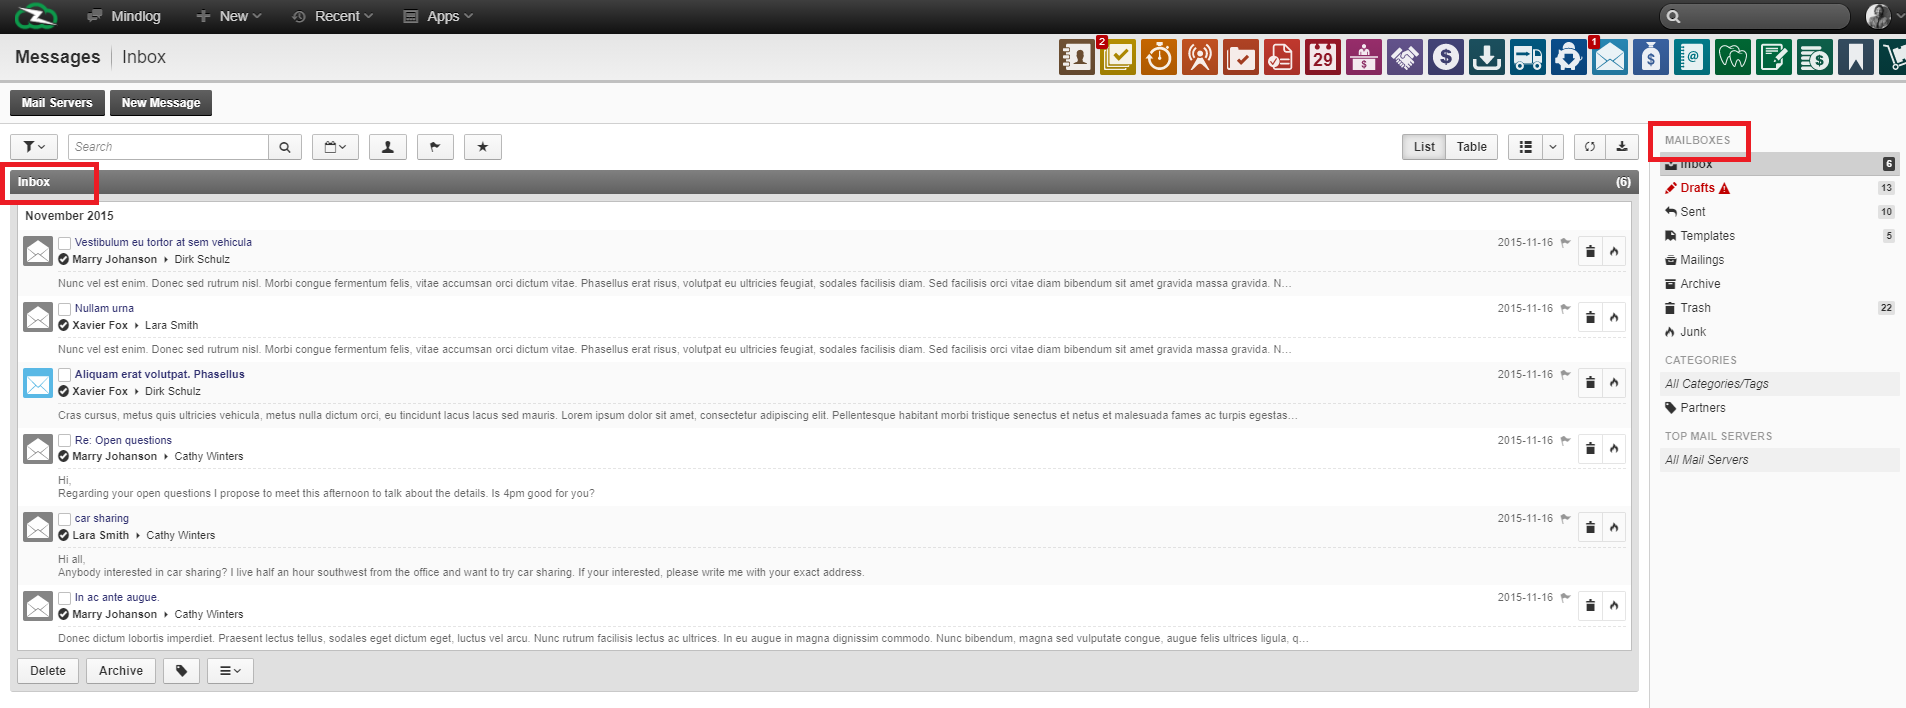
Upon clicking the blue letter logo in your menu bar or in the list of applications, you will be redirected to your notifications. Your inbox is divided into two sections.

1.Your inbox
Your inbox is the most important part, it is the large window in the middle of your screen which contains your emails and information about them as well as different options to classify and organize your emails.
2.Your Mailboxes
Your mailboxes allow you to switch between different mailboxes. Mailboxes are where your emails arrive depending on their nature. If a user has been associated to junk, then his emails will be automatically redirected to your junkmailbox. Same goes for your trash, archive, etc...
Emails can be opened by clicking on them, revealing their contents. This opens a new window:
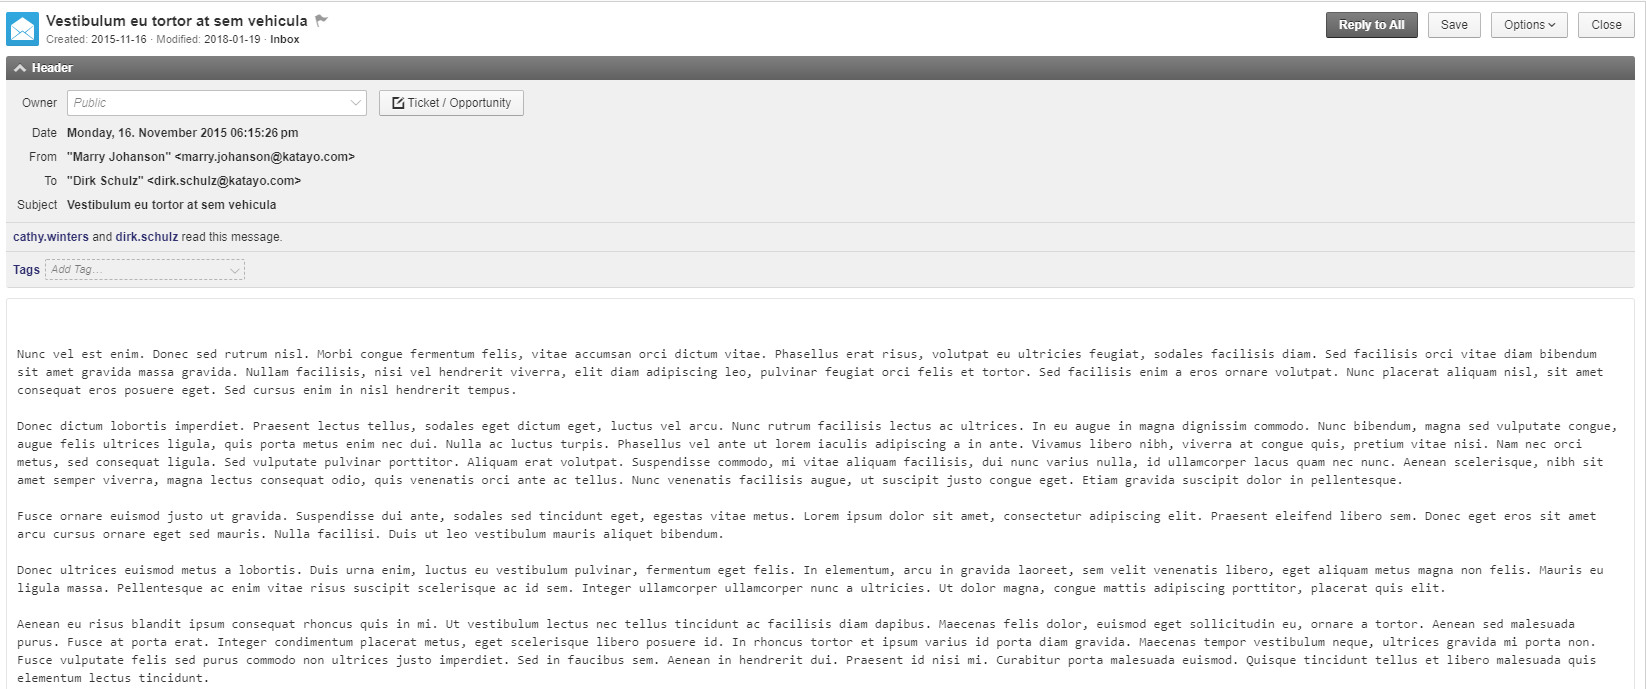
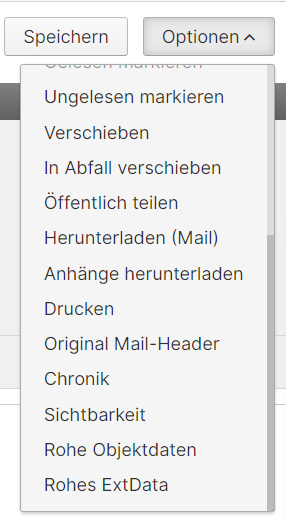
From the top menu, by pressing on "option", you can choose to move that email to different mailboxes, label that email with different labels, forward that email to different users or reply. This all applies only for that selected message. In addition, there are many other possible courses of action:
Just under that menu is displayed information that email such as : "date" refers to the date at which a message was sent, "from" refers to the user who sent it, "To" refers to who has received it (many users can receive a same message at once), "Subject" is a small description of the email that the sender wrote.
Finally, the last box in this window is the content of the mail. It can take many forms, such as text, image, link, video, etc...
To reply to an email, you must press the reply button in options or press on arrow logo. To send an email you must press on the "New Message" button at the top left corner of the inbox screen. This will bring you to a new screen:
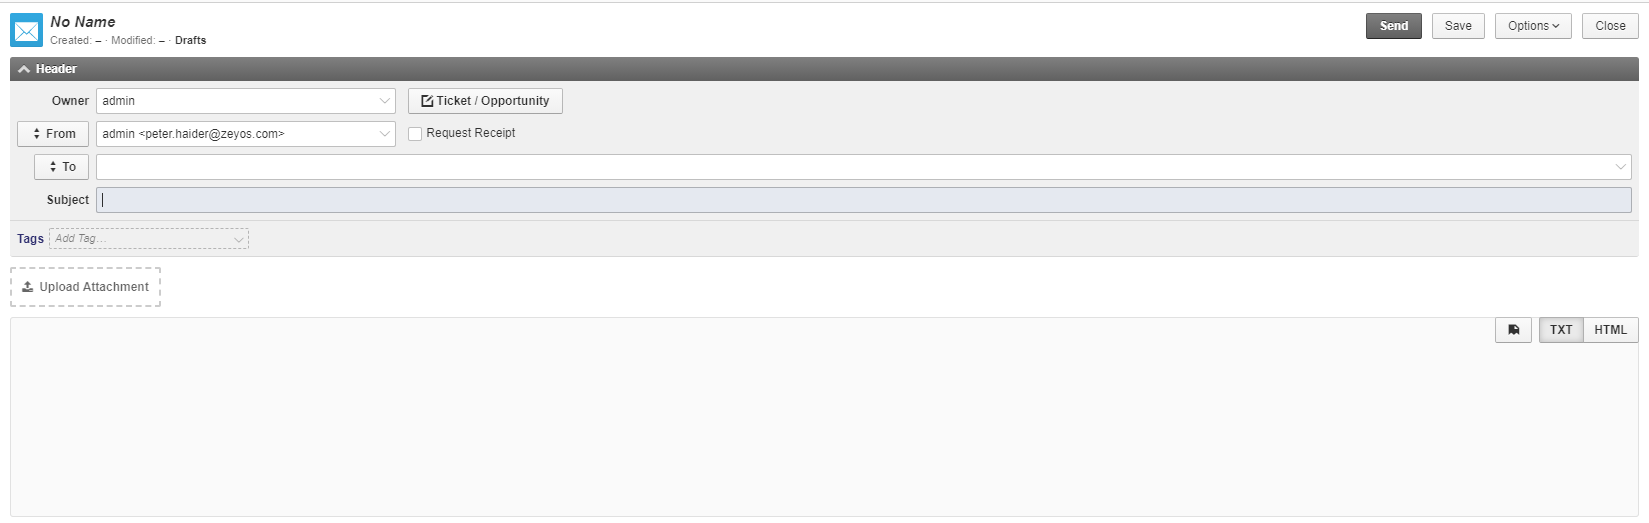
In here you can fill in the information for your email, such as who you want to send it too or the subject. However, as the writer, you have access to more options such as "ticket" which allows you to, if the subject implies a ticket opportunity, to describe what kind of ticket you're sending, and if it may justify a payment.
The "Owner" section of the header allows you to select who has access to that email.
In the body of your email, you can simply write the content you need or upload an attachment. To upload an attachment simply press on the "upload attachment" button at the top left of the body. Then select the file you had in mind from your computer.
You can also add tags to your email using the "Tags" menu underneath the Subject bar. This allows your emails to be classified within these tab categories and allows you are the person at the other end to find your email more easily.
The different options "TXT" and "HTML" at the top right of the body allow you to play around with different writing options. The next button on their left that looks like a half-file is the template button, it allows you to pick from any of your saved or default templates.
The "save" button allows you to save a mail in your drafts.
Templates are pre-written emails that act as a basis for your email, their purpose is generally to help you save time. You can access them by pressing the template button while writing or replying.
Here is an example: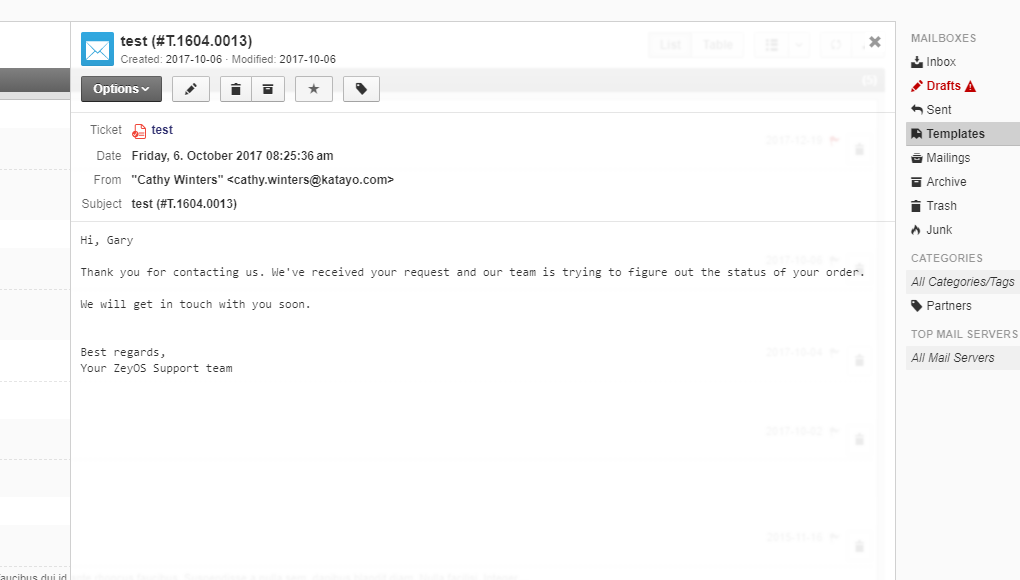
To save a new template press on the "new template button" at the top left corner of the inbox screen. From here just type everything as if writing a normal email and save when done.
To select multiple emails at the same time, you'll need to go to the base inbox screen, either by pressing on the "Messages" button again, or pressing on the envelope logo. Now you should be able to see your inbox again. Notice the little white squares in each email? That's the box you need to press to select an email, if you do that to multiple emails, the others will still stay selected. This allows you to reply or edit multiple emails at once.
You can also delete, archive or label them using the bottom inbox buttons.
 Keep in mind you can also delete individual emails by pressing the bin logo at the far right of the email. To unselect a previously selected email, simply untick the box by clicking on it once more.
To follow an email, press on the flag button on the far right of the email you want to follow. Following an email means you can access it more easily and have a better idea of when people replied.
Filters
Search tools or filters are placed at the top of the page just over your inbox.
The first button looks like a funnel. This is the "Filter" button that allows you to select which previously saved labels you want to search for. If you frequently use certain filters to categorize your emails, you can save them and quickly find them in this button.
Next is the "Search bar" which allows you to search for specific key words and users of your choice. It is especially useful when trying to find an uncategorized email for which you only remember part of the content or maybe just the header. Then is the "calendar" button which allows you to search for emails at a specific date. Next is the "my messages" button which looks like a little character, it allows you to show only emails that you have sent, including replies. The "flag button" allows you to show only the emails or chains of emails that you are currently following (to follow an email simply press on the flag icon next to it).
Display Options
Opposite to the filters are the miscellaneous buttons. First are the "List/Table" buttons that allow you to display your inbox in two alternate ways depending on your preference. Next is the field button which upon clicking it will open a window. From that window you can select which fields you want to have displayed in your inbox depending on your preferences. To change switch fields from visible to hidden, just click and drag to the right section.
To refresh, press the "reload" button which looks like two spinning arrows. This will refresh your inbox making sure that it is completely up to date provided you are connected to the internet. Your inbox refreshes automatically but if you are expecting a message feel free to accelerate the process.
Finally, to export data press the "export date" button which looks like a downward arrow pressing on a bar. This allows you to download the selected Inbox onto your computer in your preferred format : excel, comma separated values, etc... This ensures maximal freedom with your email data. You can also choose to export only the selected fields, to do so, you need to have previously selected the emails you want to export by ticking their boxes. To export emails by a group or label, simply filter your inbox accordingly before exporting.